Oct 1, 2026Buying Guides
Is a Noodle Product Photo Large Enough for Packaging Print?
Check pixel dimensions against final printed size before approving a product photograph; changing a resolution label does not create original detail.
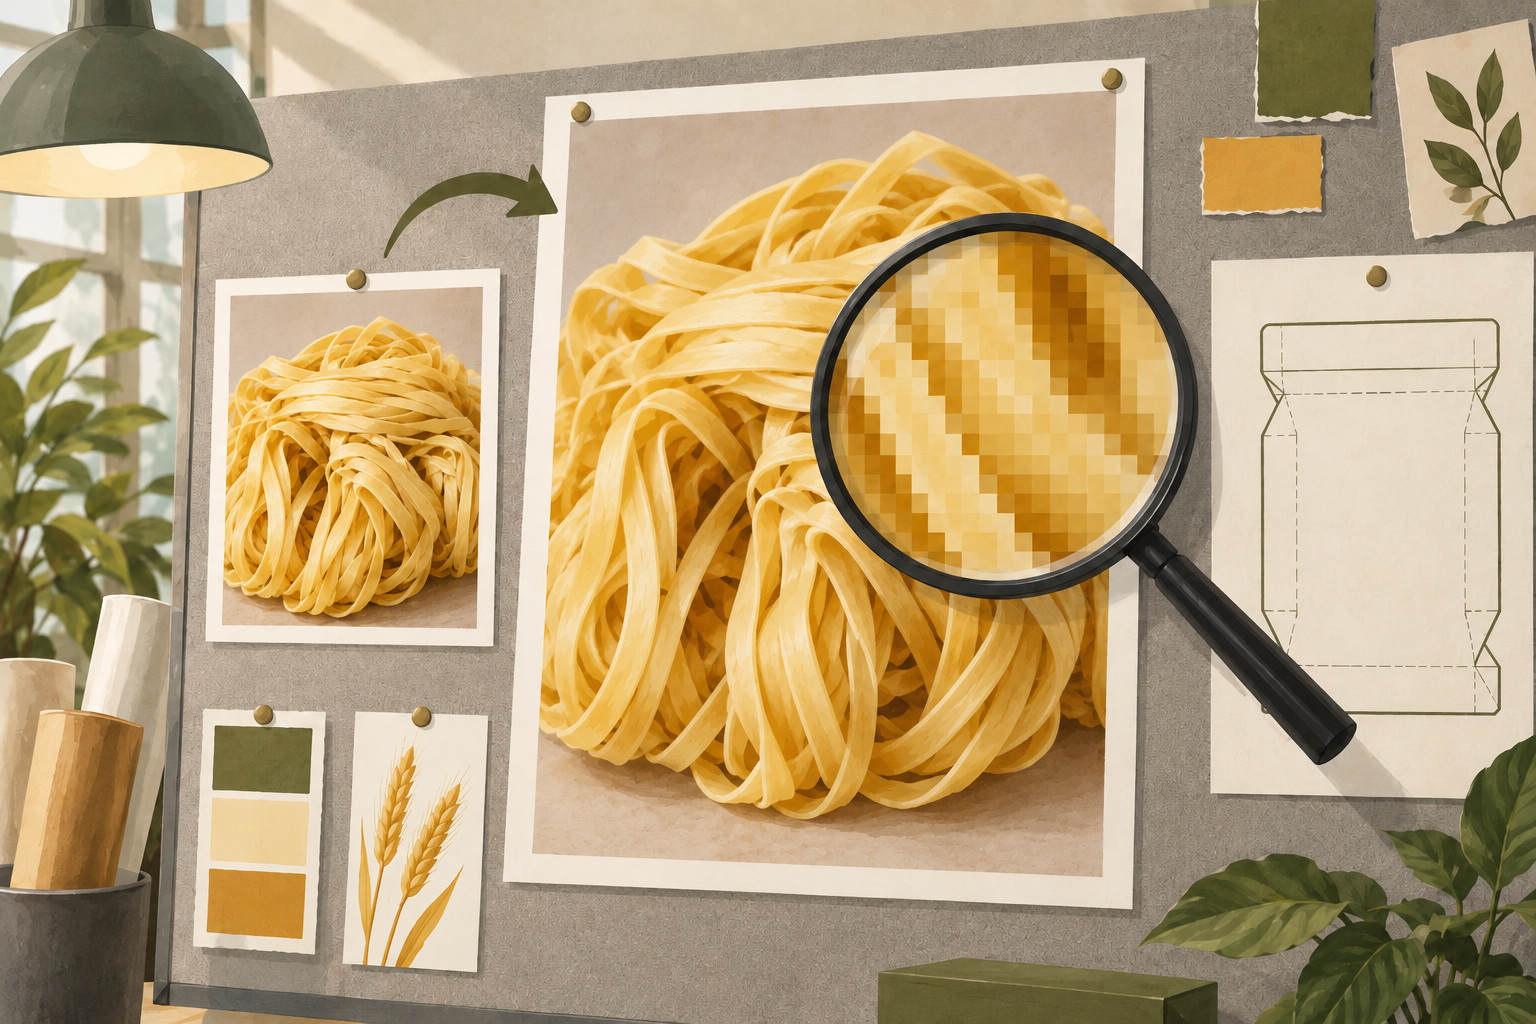
AI-generated editorial illustration of enlarging raster artwork; not an actual print proof, packaging dieline or measured resolution test.
A photo that looks clear on a website is not automatically suitable for a large area of printed noodle packaging. Check its pixel dimensions at the final placed size. A file labelled “300 ppi” may still be too small for the proposed layout.
This check concerns raster photographs. Logos, type, barcodes and other artwork may need different production formats and specialist checks.
Connect pixels to the actual print size
Adobe distinguishes pixel dimensions from print resolution. Pixel dimensions describe how much image data exists; pixels per inch, or ppi, describe how densely those pixels are placed on paper or another printed surface. Without resampling, changing resolution changes the physical size rather than creating more pixels. Adobe printed image resolution.
For a simple example, imagine a product photograph that is 1,800 pixels wide. Placed 6 inches wide, it supplies 300 pixels per inch. Placed 12 inches wide without adding pixels, it supplies 150 pixels per inch. The original file is unchanged; the layout has spread its information over twice the width.
These are illustrative calculations, not a required resolution for every packaging process. Obtain the printer’s requirements for the actual material, process and intended viewing conditions.
A number in the file is not new detail
Adobe explains that resampling adds or removes pixels. Upsampling estimates new pixel information and can introduce artefacts or reduce sharpness. Merely changing the ppi field without resampling does not add image detail. Adobe image size, resolution and resampling.
If the designer reports that a small web image has been “converted to high resolution,” ask what changed: the metadata, the print size or the pixel count. Those are different actions. A larger file size alone is not evidence that lost product detail has been recovered.
Give the designer the right source
For each photograph proposed for print, supply the highest-quality authorised original available and identify the exact product it represents. Keep a separate reference showing the intended crop and layout size.
Ask the designer or printer to confirm:
- The pixel dimensions of the image actually used after cropping.
- Its final physical size in the packaging layout.
- Whether it has been enlarged or resampled.
- The print provider’s applicable resolution requirement.
- Whether the final-size proof preserves the necessary product detail.
A tight crop can leave fewer usable pixels even when the uncropped image was large. Recheck the placed image after layout changes rather than approving only the original file’s properties.
Preserve product truth when improving the image
Sharper-looking artwork should not alter pack shape, printed product information or the apparent amount of food. If image enhancement changes a product feature, it creates a separate accuracy problem even if the file passes a resolution check.
For buying decisions, an illustration is not a substitute for a factual product photograph. Keep illustrative images clearly separate from the files being used to confirm the actual packaging or product specification.
The packaging photo checklist explains which views help remote review. This article addresses a different question: whether a chosen photograph can support its proposed printed size. Tie the final file and crop to the approved artwork version.
For an OEM packaging project, send the SKU, target format and available original images through the contact page. Confirm image suitability with the responsible print provider before production.
Reviewed: 1 October 2026. No printing capability or universal acceptance threshold is asserted.